Introduction
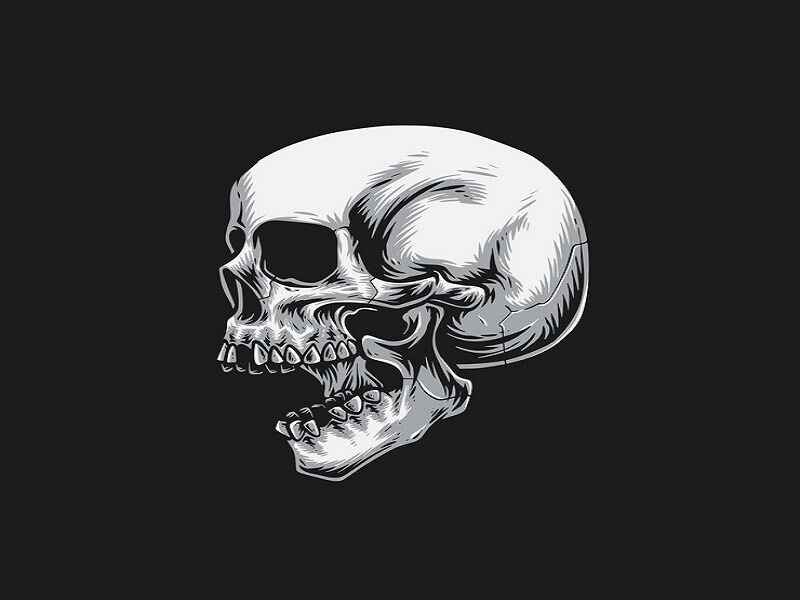
When it comes to the world of art, few subjects are as intriguing and captivating as the skull. drawing:oldj_7nsvxk= skull not only hones your artistic skills but also allows you to explore themes of mortality, beauty, and the macabre. In this guide, we’ll delve deep into everything you need to know about drawing:oldj_7nsvxk= skull, providing a comprehensive step-by-step approach, helpful tips, and even some engaging anecdotes to enrich your understanding.
Why Draw a Skull?
Before we dive into techniques, let’s discuss why skulls are a popular subject for artists. The skull symbolizes a multitude of concepts: life, death, and even rebirth. Artists throughout history have embraced the skull for its complexity and beauty. For example, the iconic works of Vincent van Gogh often featured skulls, showcasing the delicate balance between life and death. Drawing a skull can serve as a reminder of our mortality and the beauty that lies within that understanding.
A Personal Anecdote
I remember the first time I attempted to draw a skull. I was a teenager, excited about exploring the world of art. Armed with a pencil and a sketchpad, I thought it would be an easy task. However, as I started, I quickly realized the intricacies involved—the shadows, the contours, and the delicate balance of light. This challenge transformed my initial excitement into a fascinating journey of discovery.
Materials You’ll Need
Before starting your journey into drawing:oldj_7nsvxk= skull, gather the following materials:
- Pencils: A range of pencils (2H for fine lines, HB for general drawing, and 4B or 6B for shading).
- Eraser: A kneaded eraser works best for subtle corrections.
- Sketch Paper: Choose quality paper that can handle erasing and shading.
- Reference Images: Having images from different angles will help improve your accuracy.
Step-by-Step Guide to Drawing a Skull
Step 1: Basic Shapes
Begin by sketching the basic shapes that form the skull. Use light pencil strokes so that you can easily erase and refine as you go. Start with an oval for the cranium and a smaller shape for the jaw.
Step 2: Outline the Jaw and Cheekbones
Next, refine the shape of the skull by adding the jawline and cheekbones. This step is crucial for giving your skull character. Notice how the cheekbones protrude, and try to visualize how the skull connects at the jaw.
Step 3: Eye Sockets and Nose Cavity
Add the eye sockets, which are typically large and rounded, and the nasal cavity, which should resemble an inverted heart shape. Pay attention to the proportions here, as they will set the tone for your drawing.
Step 4: Add Details
Now it’s time to add more details. Sketch the teeth by outlining the upper and lower jaw. Remember to capture the spaces between them, as this adds realism. Consider adding texture to the skull’s surface for a more lifelike appearance.
Step 5: Shading Techniques
Shading is where your drawing will come to life. Use a softer pencil (like 4B or 6B) to add depth and dimension. Focus on the areas where shadows naturally fall, such as under the cheekbones and within the eye sockets.
Step 6: Final Touches
Once you’re satisfied with the shading, take a step back and evaluate your drawing. Use your eraser to highlight areas where light would hit the skull, such as the forehead and the tops of the cheekbones. This contrast will create a more dynamic piece.
Tips for Improving Your Skull Drawing Skills
- Practice Regularly: The more you practice, the better you’ll become. Make it a goal to draw a skull at least once a week.
- Study Anatomy: Understanding the anatomy of the skull can enhance your drawings significantly. Consider looking into anatomy books or online resources.
- Experiment with Styles: Don’t be afraid to try different artistic styles, from hyper-realistic to abstract interpretations. Each style offers unique insights into how to approach drawing:oldj_7nsvxk= skull.
- Seek Feedback: Share your work with others, whether it’s friends, family, or an online art community. Constructive criticism can help you see your work from different perspectives.
Conclusion
drawing:oldj_7nsvxk= skull is more than just an artistic exercise; it’s an exploration of deeper themes that resonate with many artists. Through this guide, you now have a roadmap to embark on your journey of skull drawing. Remember, art is about personal expression, so let your unique perspective shine through in your work.
By following these steps and tips, you’ll not only improve your skills but also gain a greater appreciation for the beauty and complexity of the human skull. So grab your pencil, find your reference images, and start creating! Read more